Summer Creative Retreat 2021!

Excited to share that I'll be participating in the Summer Creative Retreat 2021, hosted by Peggy from The Pigeon Letters!
It's a FREE creative retreat from August 2 - August 12, 2021 and offers mini classes (under 1 hour) from 100 instructors to inspire and motivate you to create something with your hands :)
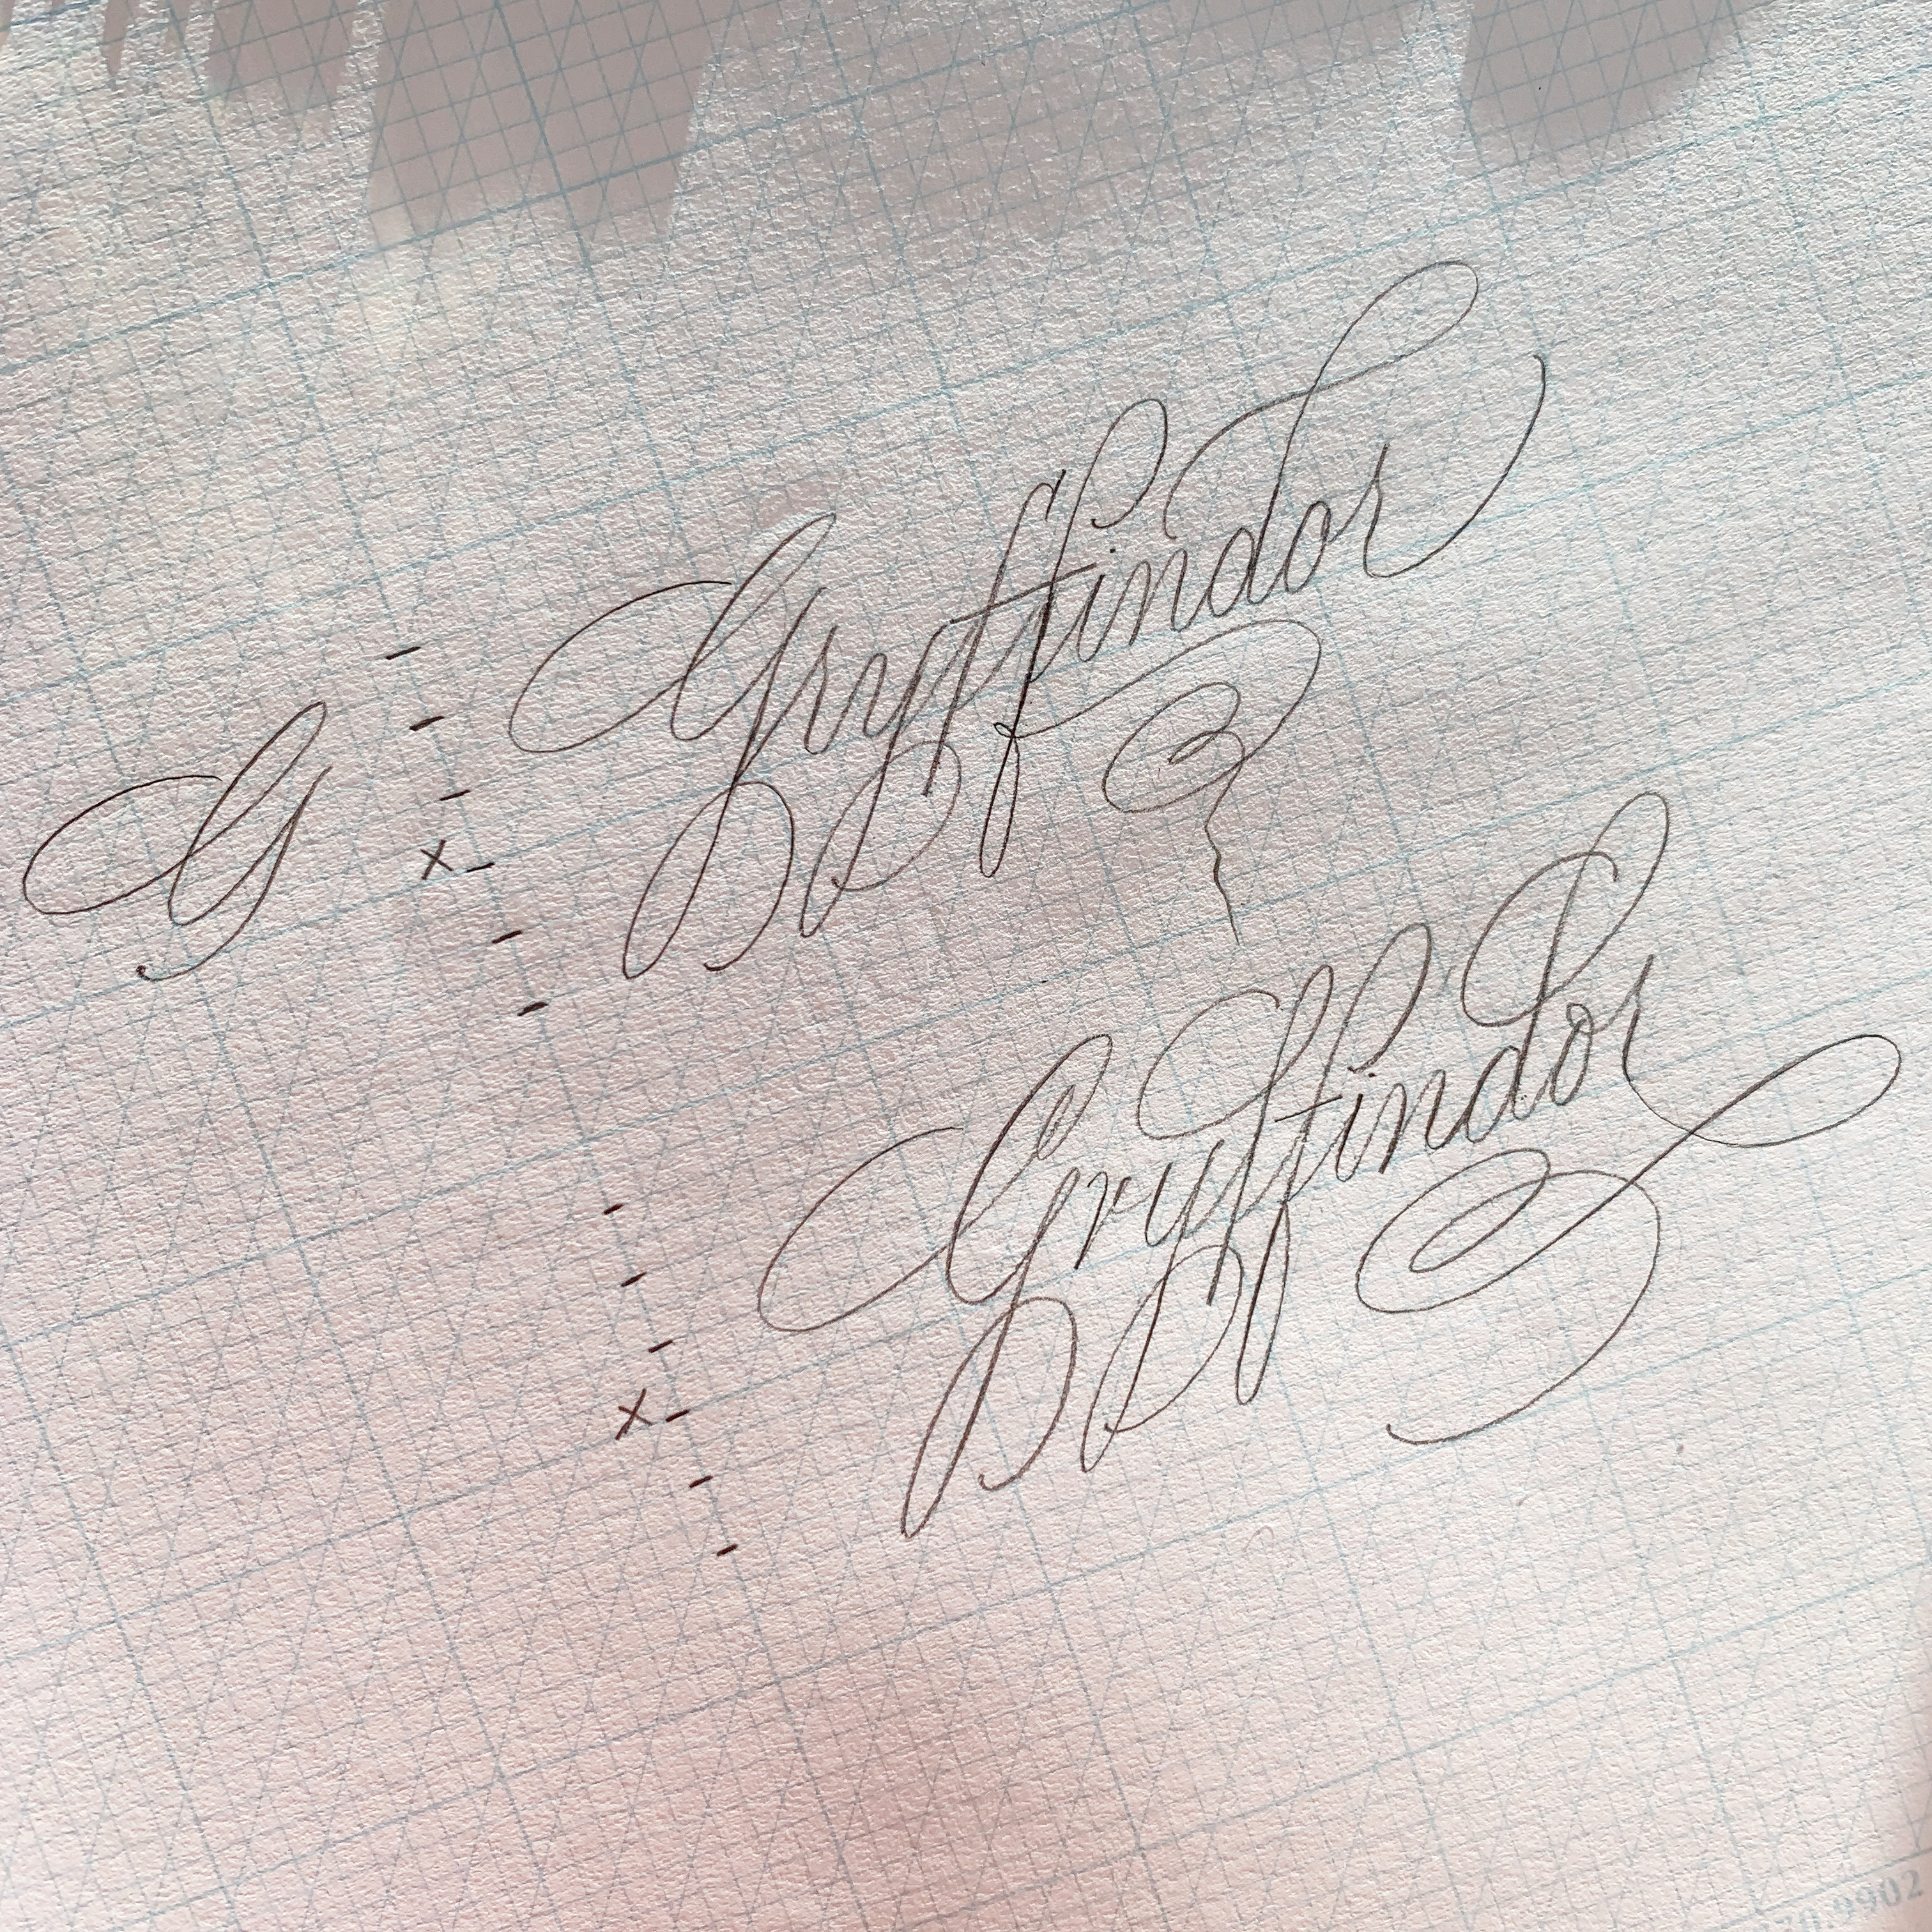
My lesson will be Flourishing: Tips on Composition. Knowing how to flourish individual letters is great, but what do we do when we are flourishing words? I'll be taking you behind the scene and sharing my thought process and the WHYs when designing flourishes. The word we will be doing together is: Gryffindor. We will go through two variations, talk about tackling double letters, flourishing ascenders, descenders, and end flourishes.
My lesson is scheduled to release:
Date: August 10, 2021
Time: 3:15PM PST
Can't make it live?
No worries! A replay of each day will be available for 24 hours. You can also purchase an all-access pass "Permanent Vacation" for under $1 a lesson an...
Tip: Fixing Calligraphy Mistakes!
In this blog post, I am excited to share a tip on how you can save a ton of time with two simple tools!
Ever work on a project only to realize you made a spelling error?? 😩✋🏼. It seems to be a common occurrence ever since I became a calligrapher! But before you decide to start all over and spend another couple hours re-doing your piece, make sure to try this calligra-hack first! It literally saved me a couple weeks ago.

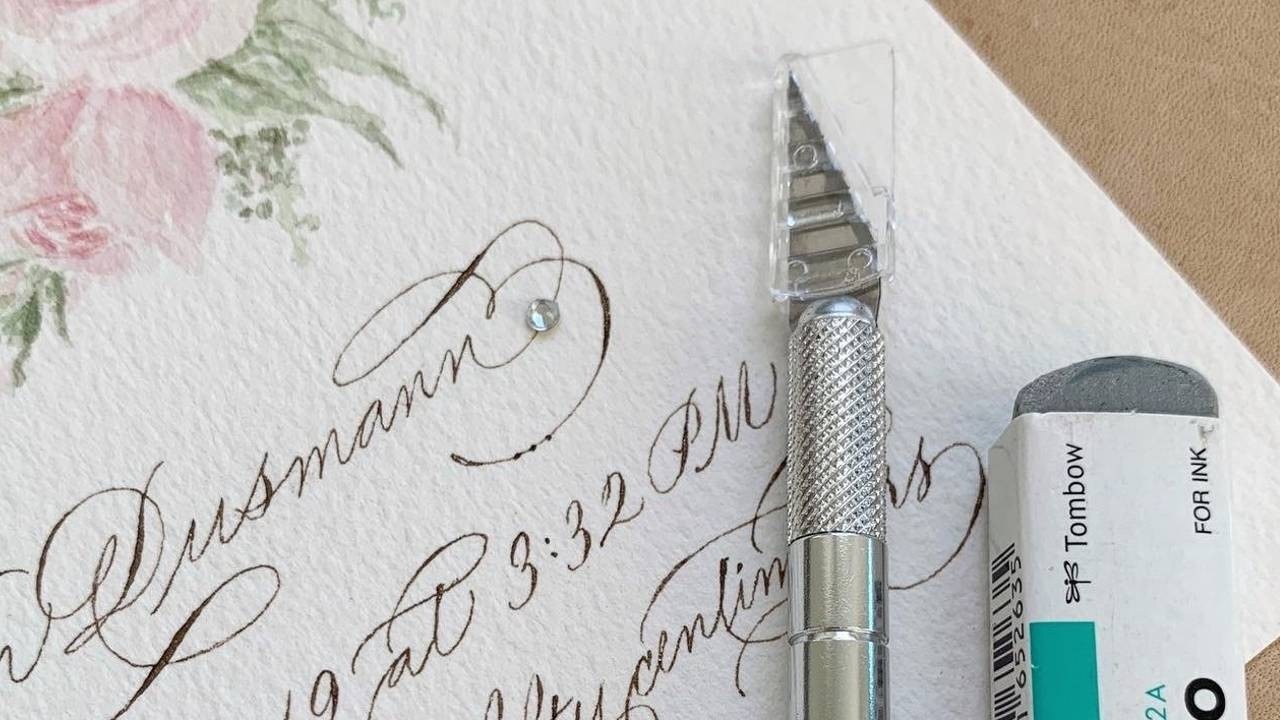
Here's the before photo. Right as I was about to ship it out, I thought to myself "Hm..let me just double triple check the spelling to make sure everything is correct". Sure enough, there was an error in her last name. It should have been Dusmann, NOT Dussman! 😩😭
Thankfully, because the number of letters remained the same, I didn't have to erase the entire flourish but only work on fixing and rewriting 3 letters.
Materials You Need:
Steps:
1. You want to take your xacto knife and gently scrape away the ink from the paper. Dep...
How to Paint Florals using Gouache and Ink!


I love painting and how it complements calligraphy so beautifully. After sharing recent envelopes with painted florals, I received an overwhelming response and requests for a tutorial...so I'm excited to share this video with you! 🌹🌿
In this video, you will learn:
- How to paint florals using gouache and bleed proof ink (supplies that most calligrapher already have!)
- 3 brushes that I use for painting and detailing
- How to double load a brush with two colors for the ombre look
Supplies used:
- Black cardstock paper
- Dr. Ph Martin's bleedproof white
- Arteza gouache (this is the set that has the Stone Blue color, but you can try other gouache colors if you want!)
- Princeton 12 round brush
- 3/4" flat brush (I personally have the Royal & Langnickel acrylic brush, but I'm linking something similar)
- Sakura water brush
You can incorporate these florals into your finished pieces, envelopes, place cards, etc! I personally added these florals onto dark blue envelopes from Paper Sourc...
Envelope Addressing Templates!

I recently finished an envelope exchange with my Fearless Flourishing online students and decided to update my Envelope Addressing Templates!
I created my own templates a couple years ago when I was trying to figure out the right x-height to address envelopes. After some tweaking and experimenting, I settled into using the 5mm x-height for most of my envelopes. However, for smaller envelopes (ex: RSVP ones), I do recommend going smaller with the 4mm x-height so that you don't run out of space.

These templates include clearly marked x-heights, 55 degree slant lines, centered line, and the baseline is spaced apart justttt right for you to add in some flourishes without the letters looking cramped. I use them for both Copperplate/Spencerian script as their slant lines are really similar (Spencerian is usually written in 52 degree slant).
HOW TO USE THEM
You can use these templates for both light and dark envelopes. I like to print them out on cardstock white paper so that it's m...
All about Calligraphy Penholders!

With a growing number of penholders in the market, I wanted to share some personal recommendations for either absolute beginners or those who are interested in adding another holder to your collection!
GOOD BEGINNER HOLDERS ($ - Inexpensive/Budget Friendly)
When you are just starting out, you don't need to spend hundreds of dollars on a new holder. I recommend the following either the Dual Workshop Holder ($6.49) or Moblique holder ($9-$13). They are both inexpensive, have metal flange, and ability to use for either oblique or straight holder. To use as a straight holder, you simply take out the flange and insert the nib into the inner circle. The Moblique holder comes in beautiful colors and has an inner nib compartment that may come in handy when you are on the go!

Here are other budget friendly holders that are offered under $20:
- Pointed Oblique Holder ($14.95) - These wooden holders are fitted for Nikko G for similar nibs
WOODEN HOLDERS ($-$$ - Reasonably Priced)
If you ...
Using Gouache to make Calligraphy Ink!

Did you know you can use gouache to make your own calligraphy ink? It's a great way to add beautiful colors to your piece! I also enjoy practicing with colored ink to switch things up. Arteza recently sent me their gouache and watercolor paper to test and I'm happy to share that I am really pleased with their color options, quality, and how the ink does not smear after writing on their watercolor paper.
Here is a quick tutorial on how to make your own ink:

*Disclosure - Some of the links below are affiliate links, meaning, at no additional cost to you, I will earn a small commission if you click through and purchase. However, know that I will only recommend supplies that I use and stand behind. Thank you for your support!
Materials You Need
- Ink Jar - I love using dinky dips for when I need a small batch of colored ink. These are tiny containers that fit your nib perfectly. The one that is shown here is from M.Lovewell and you can get it here. If you are working on larger env ...
My Set Up as a Left Handed Calligrapher
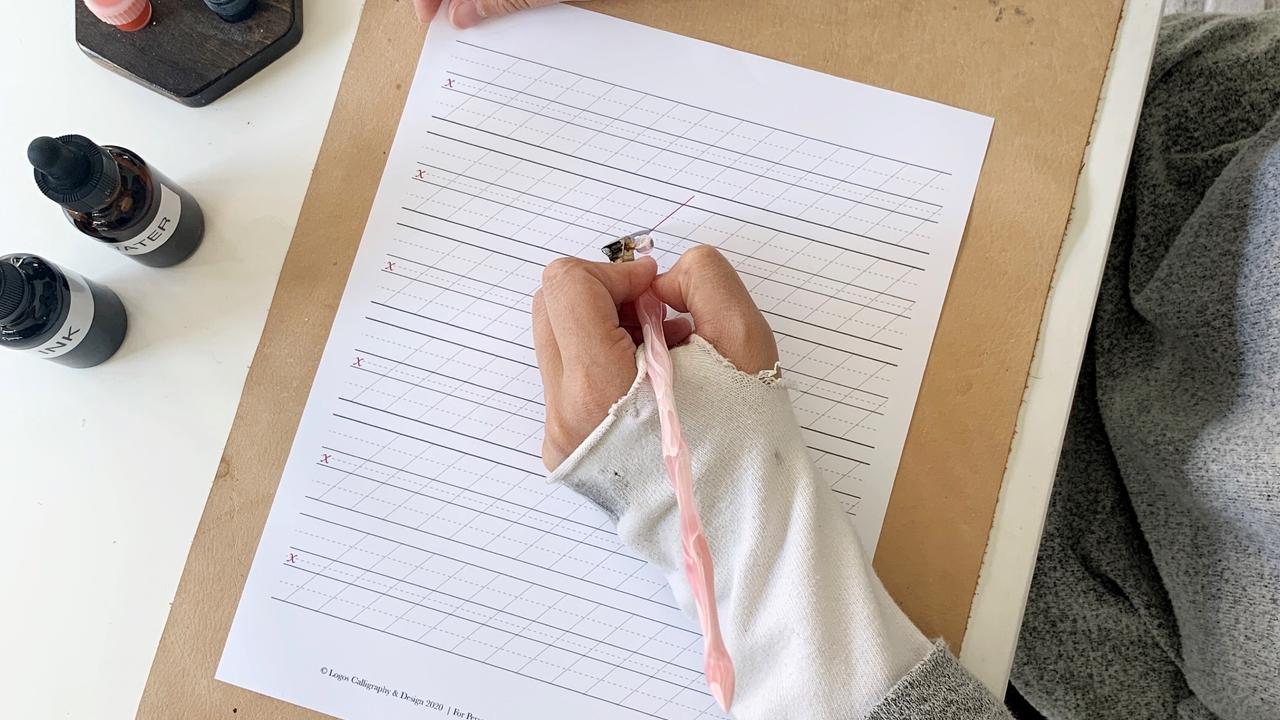
I often get questions asking "How do you angle your paper? Do you use a left oblique? Straight holder?", so I wanted to help answer those questions here. FYI- for my everyday handwriting, I underwrite (keep my wrist under the baseline) and hold the paper at about 45 degrees to the right.
Switching from Straight to Oblique
After taking my first Copperplate workshop in November 2014, I decided to stick to the straight holder because I could not find the right paper angle and felt extremely frustrated using an oblique. Even after writing with a straight holder for a year, I continually struggled with being able to execute smooth upstrokes (because it was going away from my body) and flourishes..but still pressed on and practiced.
In February 2016, I had an opportunity to meet Master Penman Michael Sull at the LA Pen Fair:

As I shared my struggles, he encouraged me to try the oblique again, but this time- the paper angle was at 90 degrees. One of the things that stayed with me from our...
Recent Posts
*Disclosure
Blog posts may contain affiliate links, meaning, at no additional cost to you, I will earn a small commission if you click through and purchase. Thank you for your support! ❤️

