Fearless Flourishing
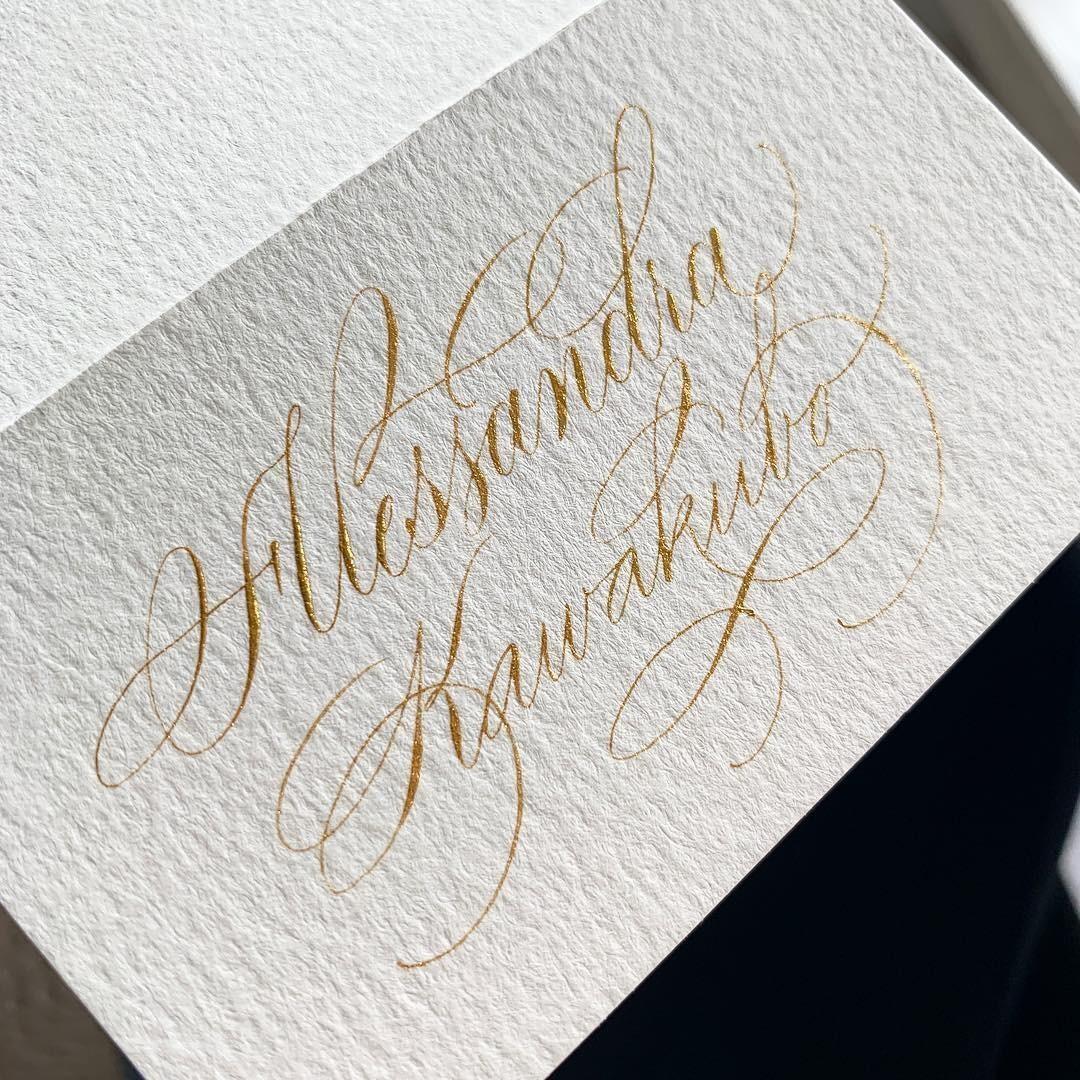

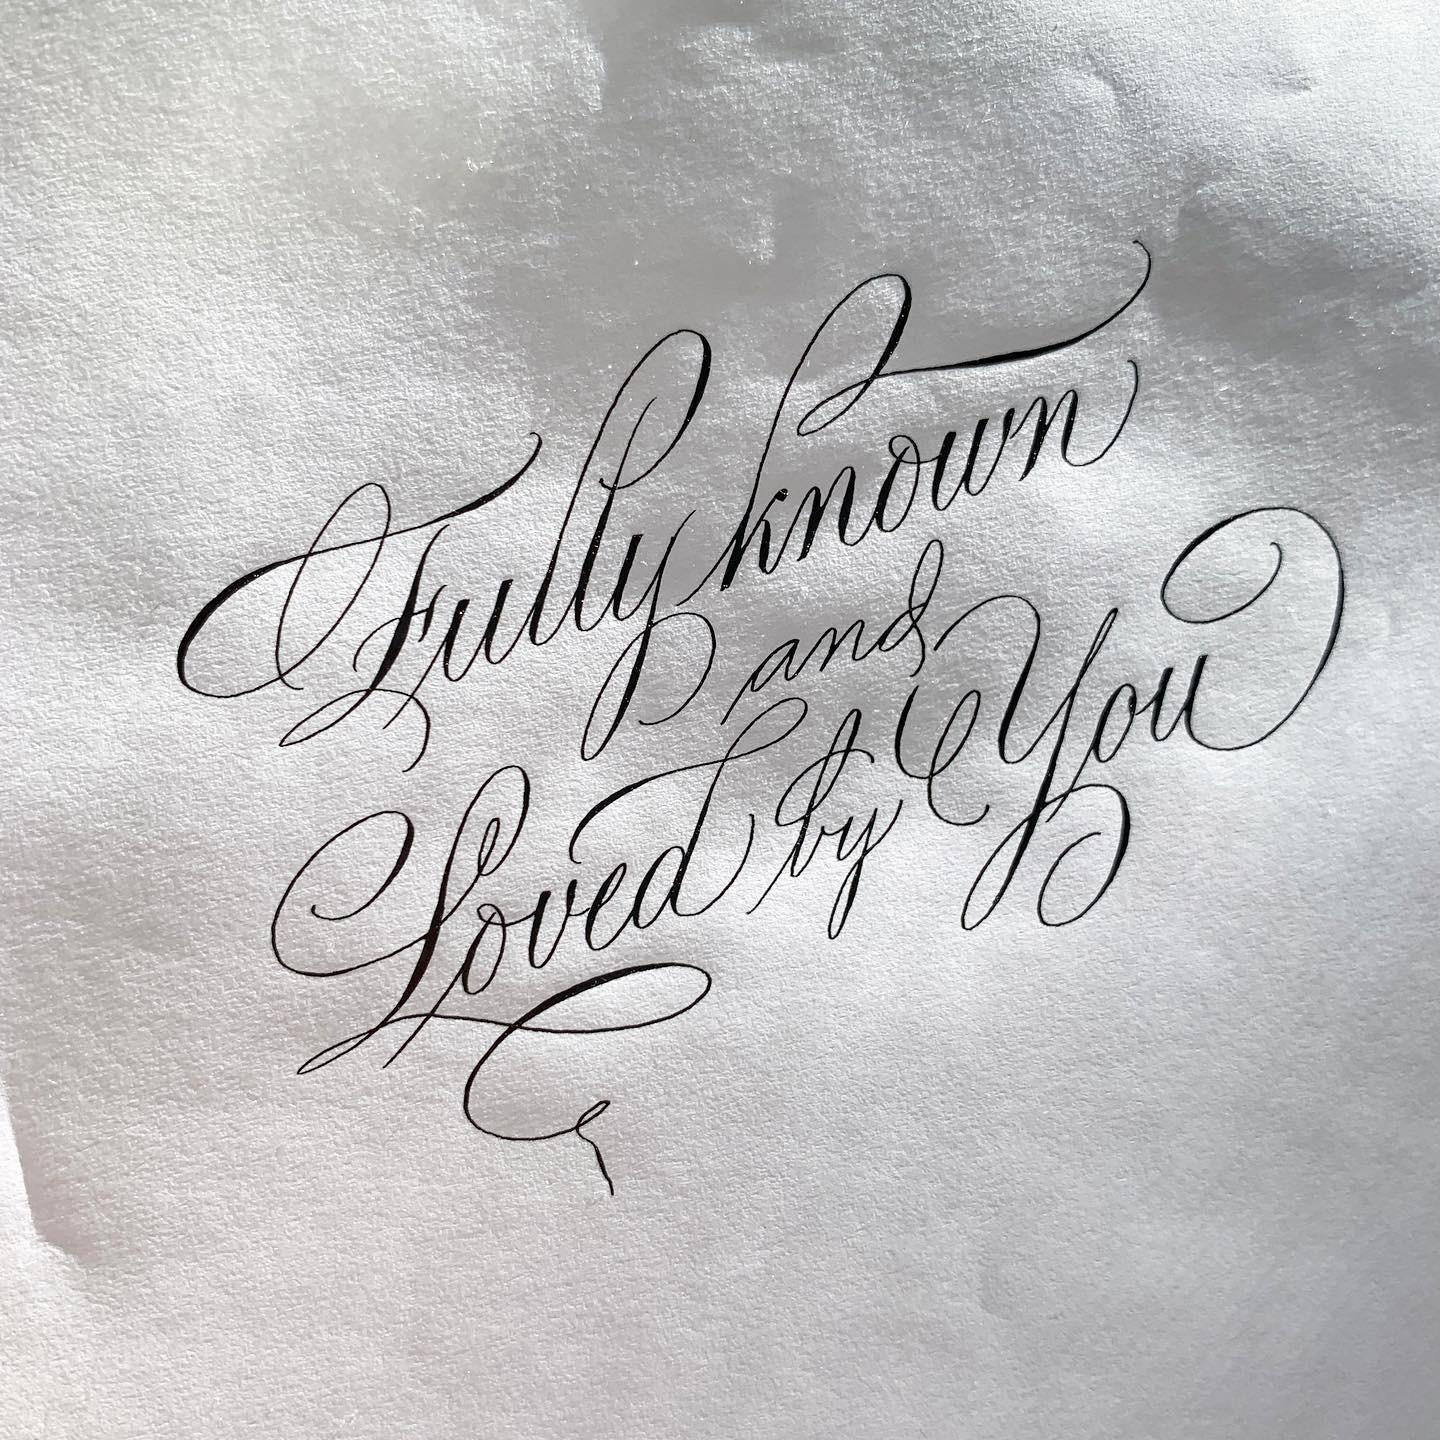
Learn how to add charm and beauty to your letters through flourishing!
You've admired all the beautiful flourished words/pieces on Instagram, and if you are anything like me 6 years ago, you are ITCHING to try, but don't know where to start! Good news - there is a method to the madness and I'm here to walk you through the entire process. If done correctly, flourishing can instantly add elegance and elevate your lettering.
Now is your chance to learn! After years of practicing, playing with how lines intersect, teaching hundreds of students in person & thousands online, I'm excited to pass on my love for flourishing. Through this Fearless Flourishing online course, I will walk you through all the basic concepts, demonstrate various letter flourishes, show you the beauty of seeing ovals & more so that you will leave with a trained eye and be inspired to start flourishing with confidence!

Lifetime Access & Updates
I get that life can be unpredictable. We will all start together, but there is no end date to the course. Follow along with the recommended schedule or go at your own pace! With lifetime access, you can revisit the course videos as much as you wish.
Homework Assignments
Move from being a passive to an active learner by implementing what you learned. After each Module, I will be releasing fun prompts via homework exercises for you to put your pen onto paper. Though it is suggested, students have the most success by completing the exercises.
2 Bonus Lessons!
In addition to learning how to flourish letters, I also love ornamental flourishing and adding florals/leaves! In the bonus lessons, we will go over how to incorporate basic florals and leaves into your letters and I'll also share tips on composition when it comes to longer pieces.
What Exactly is in the Course?
The course is made up of 4 teaching modules, with individual lessons within each module. The structure is set up so that you can easily move along the lessons and pick up where you left off. Including all the bonus videos, there are over 20 video lessons provided for you!
MODULE 1 - Introduction to Flourishing
Lesson 1.1 - What is a Flourish?
Lesson 1.2 - Basic Rules to Flourishing
Lesson 1.3 - Warm Up Drills
Lesson 1.4 - Four Types of Flourishes
MODULE 2 - Lowercase Letter Flourishes
Lesson 2.1 - Ascending Stem Loops (b,d,f,h,k,l)
Lesson 2.2 - Descending Stem Loops ( (f, g, j, p, q, y, z)
Lesson 2.3 - End Flourishes
Lesson 2.4 - Letters without Loops & Understanding Negative Space
Lesson 2.5 - Connecting letters with a flourish/crossbar
MODULE 3 - Uppercase Letter Flourishes
Lesson 3.1 - Capital Stem Variations
Lesson 3.2 - Entrance Stroke Variations
Lesson 3.3 - DEMO: Group 1A - Letters that start with a Capital Stem (A, M, N, I, J)
Lesson 3.4 - DEMO: Group 1B - Letters that start with a Capital Stem (P, B, R, I ,F, D)
Lesson 3.5 - DEMO: Group 2 - Letters that start with a Horizontal Oval Entrance Stroke (S, L, G, C, E, O)
Lesson 3.6 - DEMO: Group 3 - Letters that start with a Vertical Oval Entrance Stroke (Z, U, X, Y, Q)
Lesson 3.7 - DEMO: Group 4 - Letters that start with Compound Curve Entrance Stroke (V, W, H, K)
Lesson 3.8 - Combining Uppercase/Lowercase flourishes. Feedback on Student Examples
MODULE 4 - Ornamental Design
Lesson 4.1 - What is ornamental design?
Lesson 4.2 - Drawing florals, wheat, leaves
Lesson 4.3 - Adding simple ornamental design to names
MODULE 5 - FINAL WORDS
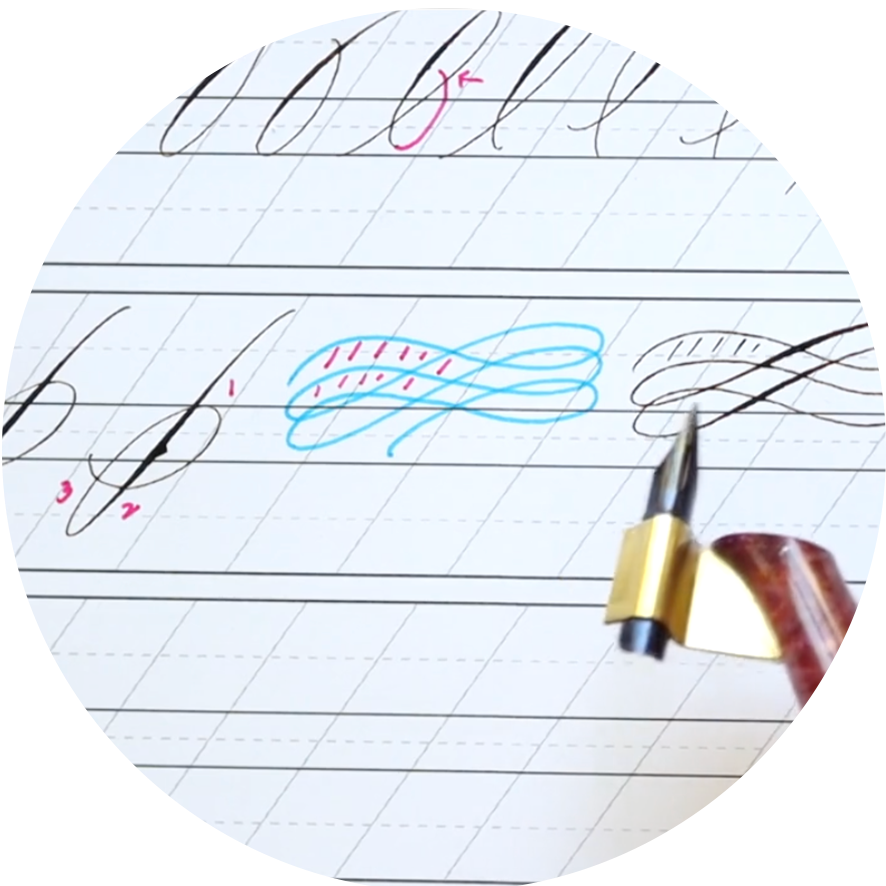
Module 1
Introduction to Flourishing. We will cover the basic rules of flourishing, move onto warm up exercises, and learn 4 essential flourish shapes.
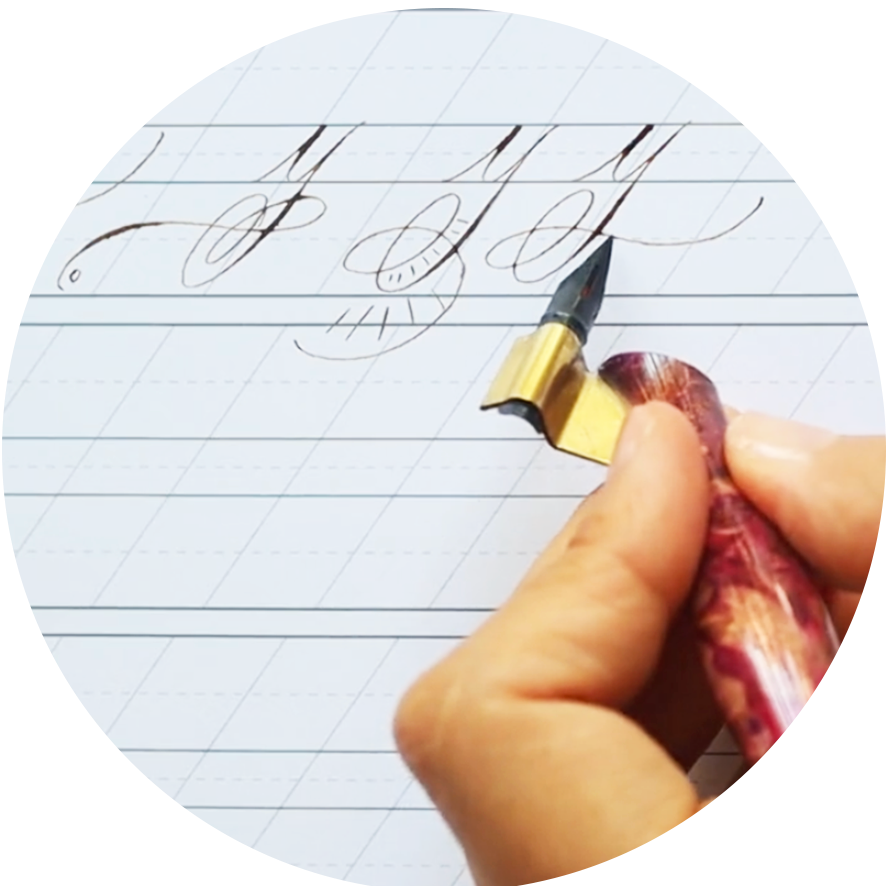
Module 2a
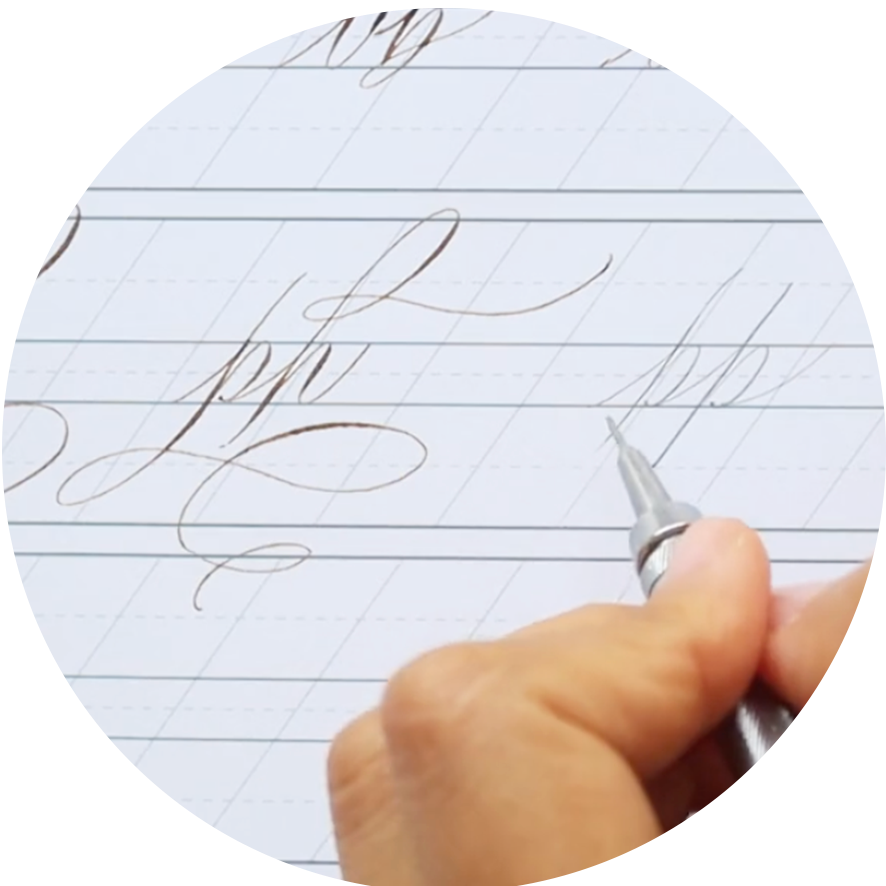
Lowercase Letter Flourishes. We will look at four subcategories within lowercase letters - ascenders, descenders, entry, end. I will also share tips on how to flourish off letters without stem loops.
Module 2b
Double Letter Flourishes. What do we do when we have the same letter next to each other? I will share my personal strategies and techniques for tackling double letters.

Module 3
Uppercase Letters. This module is jam packed (over 2.5 hours!) with demo, tips, and instruction so that you will know how to flourish the majuscules with grace.
Module 4a
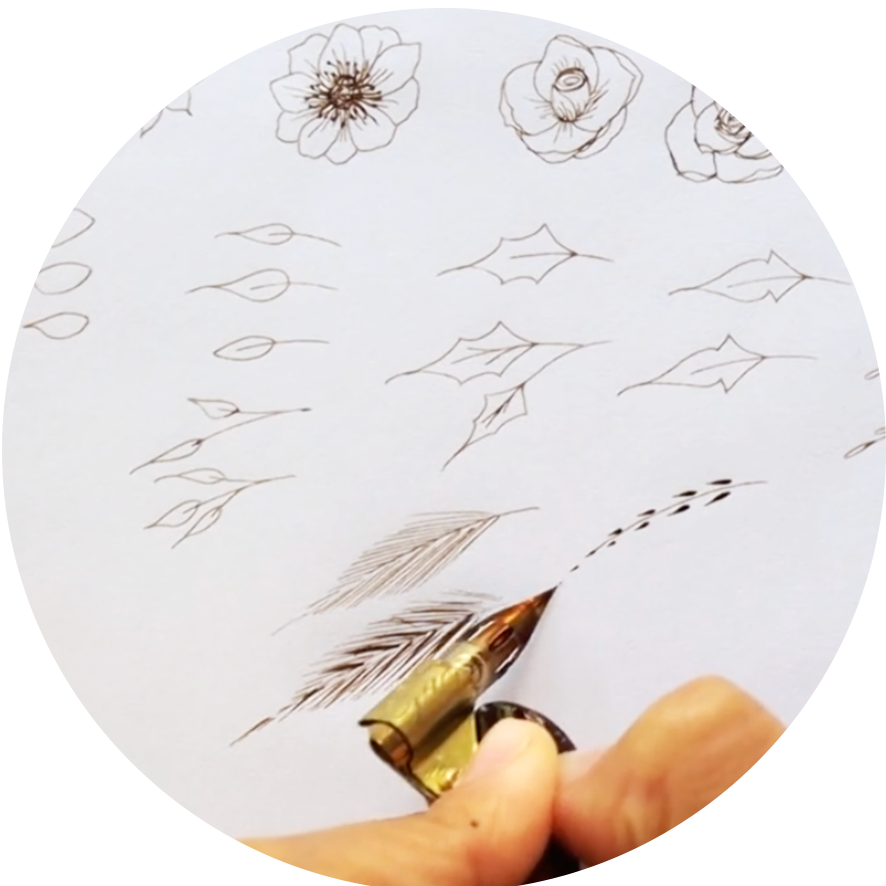
Ornamental Design. It's time to learn some embellishments! We will go over how to draw basic florals, leaves, wheats, etc to use as a stand-alone or adorn our calligraphy.
Module 4b
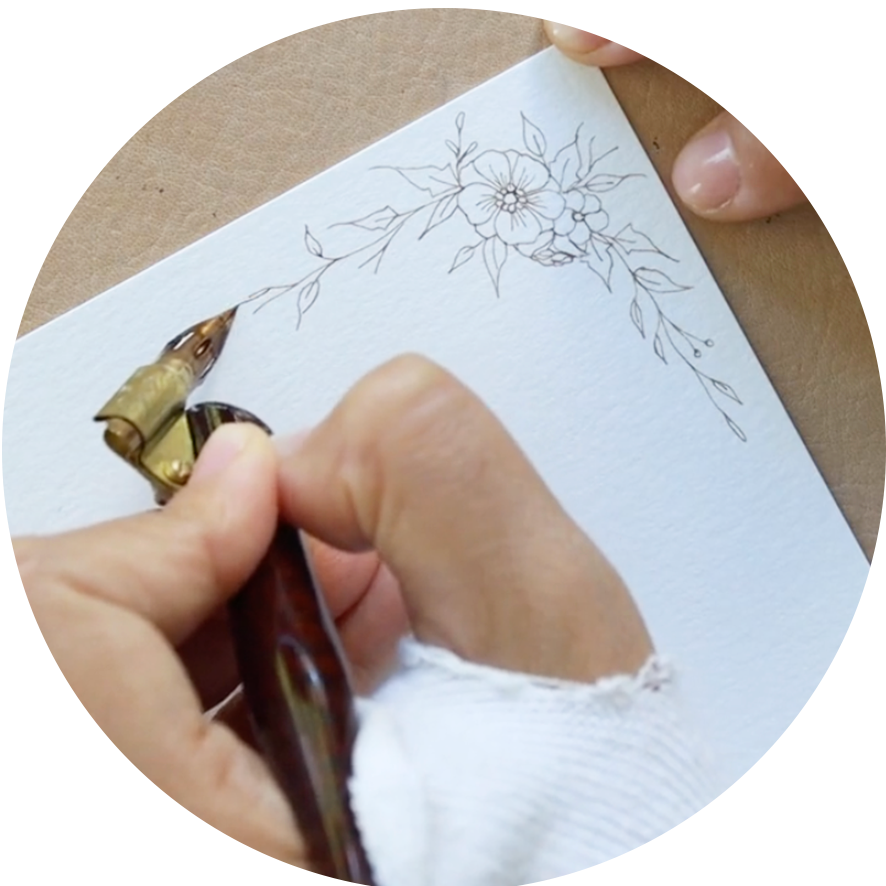
Now we will put together those individual elements to make a beautiful floral border. I will also show you how to incorporate them into your calligraphy.

Chantelle Takata - @brieandink
Los Angeles, California
"I just could not figure out how to do flourishes that didn't look awkward. The course was great at teaching the basic fundamentals that can be applied to both copperplate or any other form of script. The examples provided helped create a base I could experiment with to make my own go-to flourish patterns"
Homework should always be this fun...
Each student will receive 80 pages of extensive instructional worksheets, course scans, and homework exercises...all the resources you need to get started right! The homework exercises are meant to motivate you to be active learners by implementing what you visually learn from the videos onto paper.
What Fearless Flourishing alumni are saying:
"I liked these exercises. I don't usually warm up too much but I definitely see the benefit of muscle memory here" - Kathy
"Hi y'all! 🤗🙋I am so overwhelmed by the beautiful way Younghae teaches us! I just had to write a big thank you! It is amazing how you enable us newbies to do some beautiful flourishes just after a few days of practice! Thank you, Younghae! 🙏😍🤗" - Sabine
"Love the drills! Helped me improve my grasp and get use to lighter pressure which allowed me to use a softer nib" - Len T.

Bernice van Overbeek - @bernice_lettersandthings
Eersel, The Netherlands
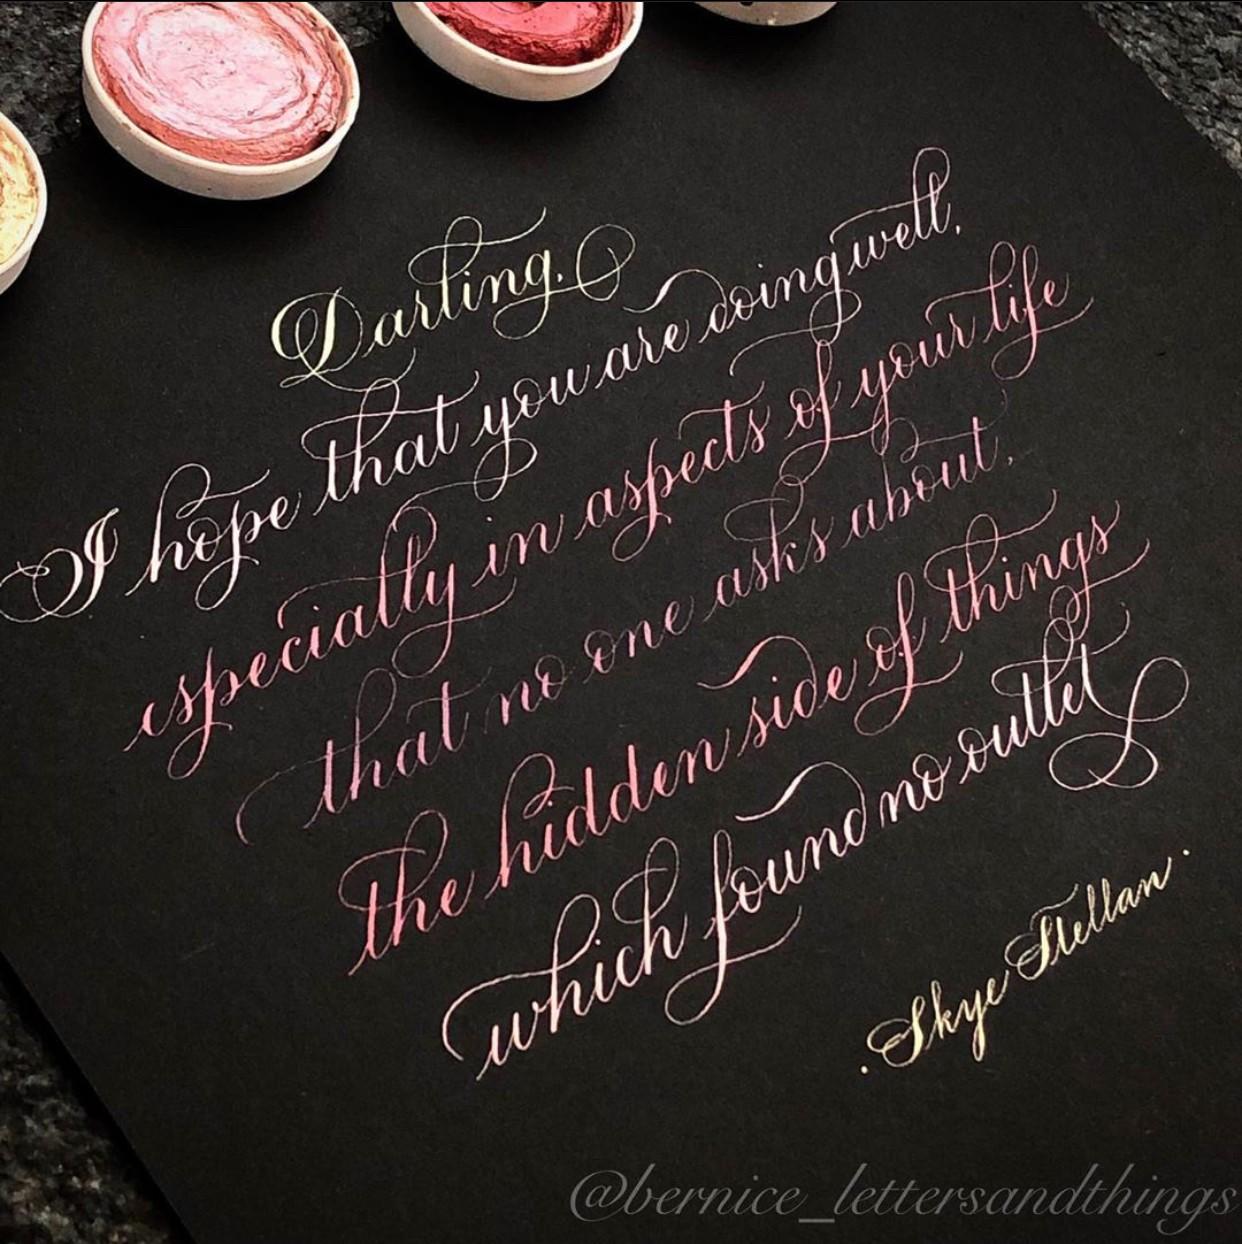
"I didn’t know what to do with flourishes. I learned how to see white spaces, to work from ovals and where you can (and can’t!) apply flourishes to your design. Especially learned that less often is more! The professional quality of the videos are incredible so it’s a joy to watch. After this course, I have take some other online courses, but most don’t have this quality. Younghae’s course is build up in logic segments. She really starts with the basics (forms, letter variations, florals) and builds up to making beautiful final pieces. Her explanations are clear, thorough and the provided handouts are very useful"
Frequently Asked Questions
Who is this course for? Is it right for me?
When does the course start and end?
How long do I have access to the course?
Will there be handouts included?
How much support will I receive from you?
Is this a beginner friendly course?
Is this course geared primarily for dipped pen users? Or could someone who uses primarily brush pens, markers, procreate benefit as well?
Course Registration
This course is valued at $1850+ and has been curated, developed, upgraded since 2017 to provide the best online learning experience. In addition to the premium course experience, I've opened up a "Self Study Track" option for those who desire to go at your own pace & don't need guidance/support from me.
Here are the payment options for this course:


Rancy Wang -@calligraphybyrancy
Los Angeles, California
"Younghae’s 2020 Fearless Flourishing was the first course I ever purchased on any kind of calligraphy and I’m so glad I chose her course! After studying with many other calligraphy instructors, she’s among my top 2 favorites. I took her course again this year, 2021 and improved even more. Her course has helped me realize that flourishing is all about concepts and some rules, once you have those fundamentals down, there are endless ways to flourish and it never gets boring, you get good at one thing, but then challenge yourself to the next thing!"
What makes Younghae's course stand out/worth purchasing?
"Her private online community and her live online zoom session. The videos are what I love the most, it never expires so we can revisit if we need to and I love her calm and clear style that’s very comprehensive and relaxing to watch. I’ve studied so many Calligraphers’ styles and Younghae’s stands out as one of the most elegant and beautiful, it just fits my liking!"
Would you recommend this course?
Yes, of course! It’s not a cheap investment, but I would say to someone who is serious about taking their calligraphy skills to the next level, make the right investment and Younghae’s course will definitely be worth it!
Live Sessions
In addition to the support you will receive from the private Community group, I will be hosting two live sessions per round. During the session, I will be providing group feedback using your classmates' homework examples, share additional tips, demo, and help answer any questions that come up! These are always fun to do and my students continue to challenge me ;)
Can't make it live? No worries, you will have access to the replay videos!
*Note - Live sessions are not included in the self study track
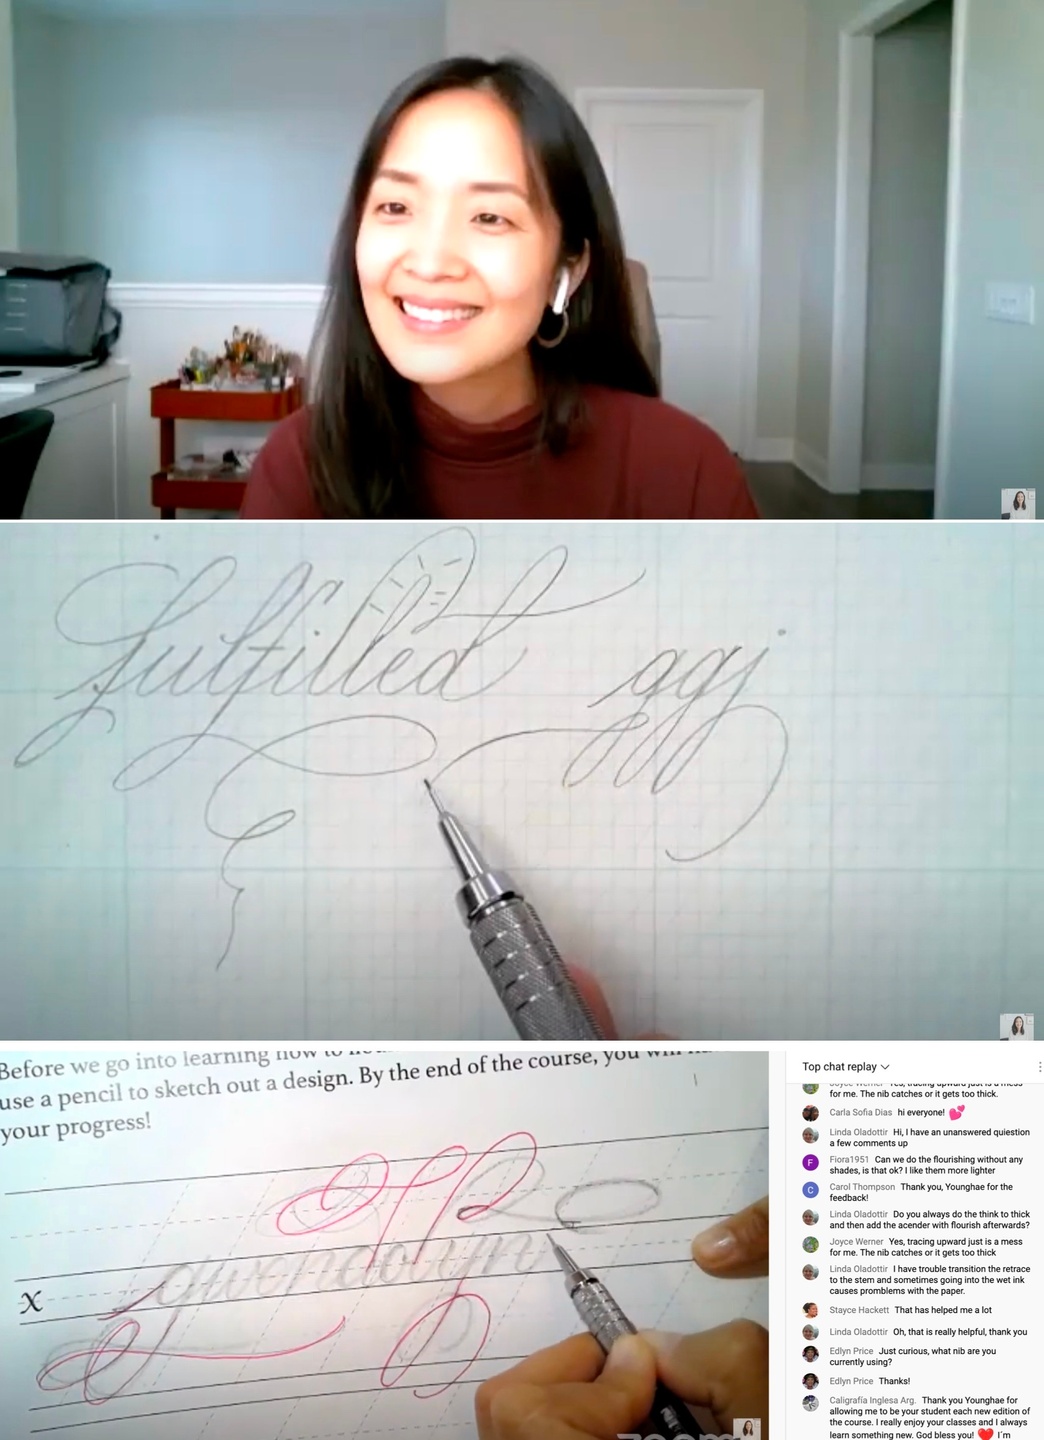

"Thank you, Younghae. Such good analysis! Thanks to the classmates who lent their lovely lettering for our learning!"
-Shelby

"Thank you for the great lesson. It was easy to understand because you explained everything so well. I am so lucky to be your student"
-Kyunghee

"Thank you! I loved watching you critique different parts of words, and show how to make it better. It inspires me to do the same for my calligraphy. I took your flourishing course last year, and try to keep up with all the updates. Very helpful!"
-Patricia

"Thank you so much, Younghae. There are so many helpful pointers in your live sessions. Each time I go over them and the course videos, I find another 'Ah-ha!' moment"
-Lisa K.
Supplies/Materials Needed
The following is a recommended list of materials you will need for the course:
- A Pencil & Eraser - Any brand is fine! I personally like using 0.5mm or 0.7mm mechanical pencil, but you can also use any pencil at hand
- Pen Holder - Straight or oblique is fine. A good starter holder is the Dual Workshop Holder ($6.49) or the Moblique holder. This wooden one has a metal screw flange.
- Paper to print Course Downloads on - HP Premium32 is a good one, but if that's not available in your country, use any smooth paper that takes ink well without bleeding! You can also use Borden & Riley #37 Marker Layout Paper or Canson Pro Layout Marker Paper on top of your guidesheets.
- Ink - My favorite is the Moon Palace Sumi Ink or Tom Norton's Walnut ink.
- Pointed, flexible nib - Use whatever nib you are most comfortable with. I personally enjoy writing with a Hunt 22b, Nikko G, Leonardt Principal EF, Gillott 404
- Computer/Laptop with Wifi - The course videos can only be accessible through a browser and internet access. Registration is for one person only. Downloading/sharing/recording the videos is strictly prohibited
- Printer - I will be providing scans, worksheets, homework exercises that you can print out. You may want to put them in protective sheets in a binder for your self study!
- *Good to Have* - Copperplate Graph Pad. I use it for designing, sketching and highly recommend getting one that you can use for the bonus videos! Both John Neal and Paper Ink Arts carry them!
If you need to purchase supplies online, I have a teacher page set up through John Neal (under "Favorites") and Paper Ink Arts.Please use code "LOGOS" for extra 5% off. They ship worldwide.

Deborah M
“I just finished watching the composition video and the final words of encouragement video. I have to say that this has been an amazing course and you are an exemplary teacher! I have learned so much. I now have a point of view and know HOW to approach flourishes in my work. I am finally opening up my flourishes so they have more space and room and my work is beginning to look more like what I want it to. I know that I will continue to go back and watch all the videos. I will be ever grateful for all I have learned”
Join Waitlist
Registration is currently closed until 2026 for the premium option. Please join the waitlist to be notified of any updates regarding this course! Thank you!
